Archive for The Superhandyman

Converting Recessed Lights To Pendant Lighting

Recently, I tackled a range of to-do items (aka, a Honey-Do List) for a client. I changed a fan, fixed an exterior security light, repaired a bifold door for the pantry, and installed a new kitchen faucet and drain. I even hooked up a CatGenie litter box system.
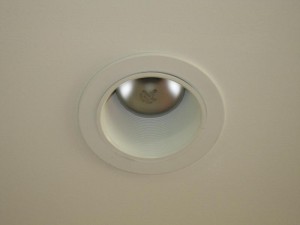
The client also had a bunch of recessed lights in her kitchen and wanted something different. She wanted to change the one above the kitchen sink into a pendant light in order to create interest and improve the task lighting.

Normally, this would be a costly and extensive process. It would involve removing the recessed light, installing an electrical box, repairing the drywall, painting, and then installing the pendant light.

But not any more. Now there is a recessed lighting conversion kit that is very nice and simple to install.
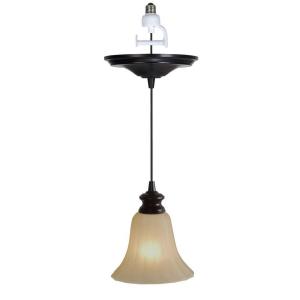
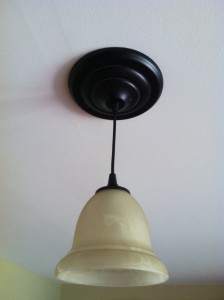
Pictured here is one such pendant conversion kit and the average homeowner could install it. The basic steps are:

1) Remove the trim of the recessed light. In the picture at the top, this is the white portion that frames out the light.

2) Remove the bulb in the recessed light.

3) Screw in the conversion kit’s socket adapter. See the second picture here.

4) Wrap pendant light wire around socket adapter bar until the light hangs at the height you want.

5) Push decorative cover plate snug against ceiling.

And that’s it!

This final picture is the one I installed on the job. In a matter of minutes it was converted over. The client wanted them to hang a bit higher than my taste, but it still looked great.

Converting a recessed light into a decorative pendant light is simple and cost effective. Plus, there many design options based on your personal style and taste.

I hope this tip will help save the day!

>>>

The Triple Bunk Bed Solution

We have limited space in our home. I’m not complaining. I don’t want a big house. It’s too much maintenance and furniture for my taste or lifestyle (Plus, my wife says she’s not interested in having to keep a big house clean). My family, and the fixer-upper we live in, keeps me busy enough–which leads to my point. It’s a challenge many families are faced with as more people are downsizing.

When we were getting ready to welcome our fourth child, we had to figure out a way to make our three bedroom house work. We figured we needed to fit three boys in one bedroom for about two years, until the baby became old enough to share a room with one of the others. Then it could be two boys to a room. By the way, we never got our girl, but we’re done trying. We’ve got all the craziness and potty humor we can tolerate. Okay, okay. My poor wife is really the one putting up with all that. So we’re done.

In any event, that’s when I came up with the Triple Bunk Bed (aka Triple-Decker Bunk Bed) for our three boys. And when we split them up two to a room, we would have an extra bed for sleepovers. I’ll be honest, my wife had her reservations. She wondered if each boy would have enough room to sit up or if it could be structurally sound (and safe). “You do realize you’re married to The Superhandyman don’t you?” I responded. It didn’t reassure her. I asked her to trust me. She agreed to give it a chance.

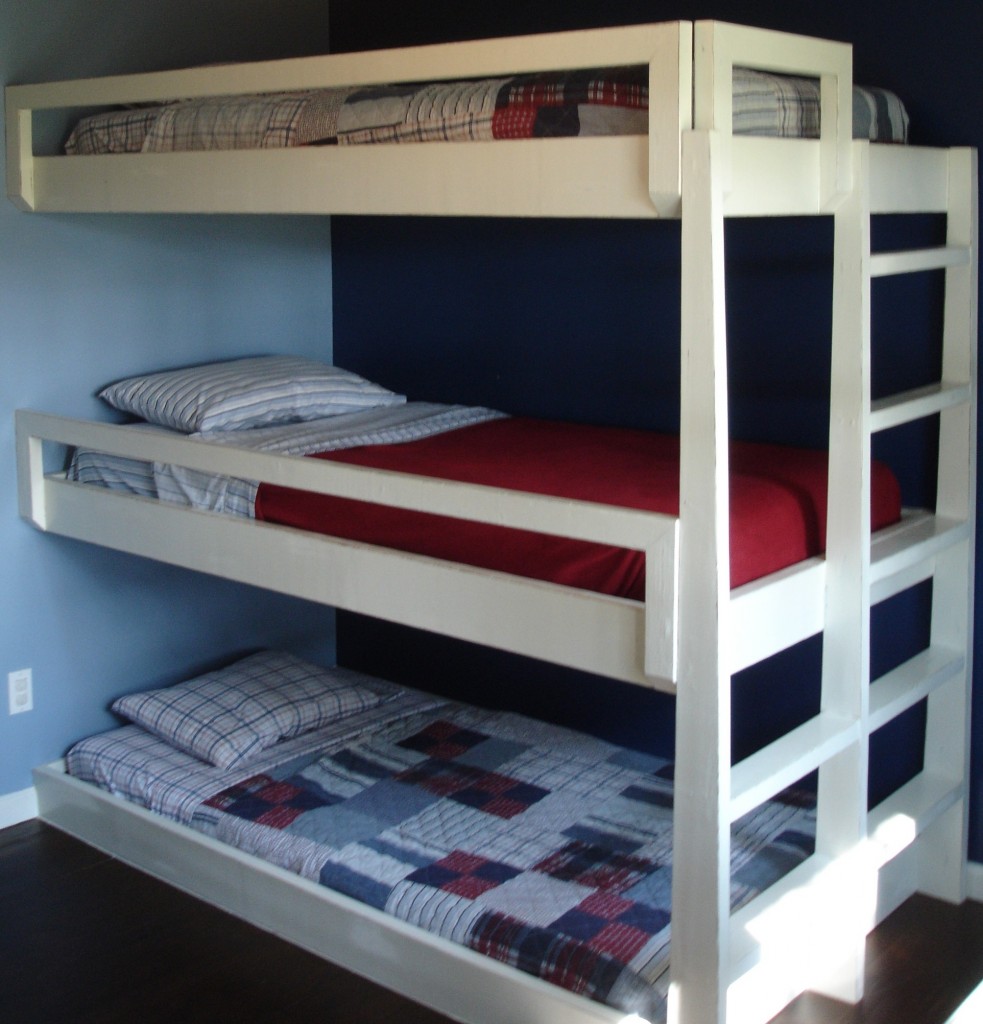
The Triple Bunk Bed needed to be open and functional, safe and sound, and fit within the space of our 8 foot ceilings. It took some designing, but I figured it all out. As you can see in the picture, the ladder for the second and third bed offer both support and access to their respective areas. There is no clumsy ladder to move around or out of the way. It all works together to create a sleek and inviting design that even gives each child equal space to sit up in.

In addition, since taking this picture I added a small IKEA light in each sleeping area for reading time. The boys love laying in bed and reading Star Wars books before ‘lights out’. There is still one last thing I want to add in each area when I have time: a small corner shelf for a book or two. Yes, even I have a “Honey-Do List” that’s not done. Admittedly, some items on it are nearly a year old. It’s a sore spot at home.

The Triple Bunk Bed is a great option if you need to save space and add character. It is perfect for a vacation home to make room for more guests or to be able to rent it out to larger groups. It is good for a basement, kids’ room, or multipurpose area. In fact, two sets can be nicely built catty-corner for maximizing even more space. Those are just a few ideas.

Lastly, this is something I can build for you. The beds can come in any color or in many custom finishes. Simply email me your desire and we will work out all the details. I am willing to travel to wherever you are to make this one-of-a-kind masterpiece.

Whatever the case, the Triple Bunk Bed is just one solution that may work for you. It has exceeded our expectations. Let it exceed yours. Plus, the kids love it!

>>>

Choosing A Door Knob Isn’t So Easy

This week I had a project in which the client wanted to change all the door knobs and hinges in the house. This amounted to 25 door knobs in all and 3 hinges per door.

Why?

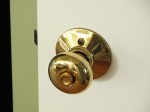
It was time to update from the dated gold knobs and hinges (yuck!) to a oil rubbed bronze look (very nice!).

Believe it or not, there are some things to know when choosing door knobs.

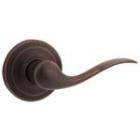
First, choose the finish. There are really only a few choices. Gold (if you wish), chrome, brushed nickel, or oil-rubbed bronze. I prefer the brushed nickel or oil-rubbed bronze. The brushed nickel hides wear and tear very well. And the oil-rubbed bronze just looks amazing.

This is what I see the most in homes that update their hardware. The only problem with it is that a scratch or extreme wear-and-tear will in fact remove the finish revealing a goldish brass color underneath.

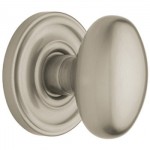
Second, you’ll need to choose the style. There is the standard round knob, the oval, and the lever. Many people seem to gravitate toward the lever style. It seems to add a little class to their updating. Or perhaps it just does something a little different from the old round knobs they’ve always had. But beware.

Lever knobs are very easy for young children to work. In fact, I have even seen some cats and dogs manage to open doors with lever knobs. So if you have rooms that you don’t want kids to go in (and who aren’t quite old enough to understand ‘no’ yet), don’t use these.

If you are trying to get away from the same old round knob, the oval style is an excellent choice. It looks good and adds a little pizazz. But you can’t go wrong with the standard round knob in a nice finish.

Third, choose the brand. This really comes down to budget, because it can really add up. For this job, the client chose Kwikset. I like them. I’ve worked with them for many years and have never been disappointed. They offer the Smartkey feature for keyed doors as well. This is an amazing option. It offers the average homeowner the option to change the key to any door in a matter of 20 seconds.

So if you lost the keys, need someone to house sit but are worried they might copy the key, have a new renter, or have had a relationship go bad, just change the key, change it back, or get an all new one and start fresh. There’s no calling a locksmith or bringing 3 deadbolts to the store to get re-keyed (and paying for each one). Plus, if you want to step up the style in the entry door you can get a Baldwin, which owns Kwikset. This means the Smartkey works interchangeably.

No, you’re not as dumb as a doorknob, but you have three things to decide: finish, style, and brand.

Updating your home can improve the quality of your life. Enjoy!

>>>

*More tips to come soon!